
I'm currently planning my wedding for this July. In the process my fiancé and I have decided to design our own wedding invitations. As we've been working in photoshop elements 10, I realized that along with making our own wedding invites, I should design all types of cards, birthday, anniversary, baby shower, etc.
I whipped up this card in a few short minutes.
Materials:
Card Stock
Little B tape
printer
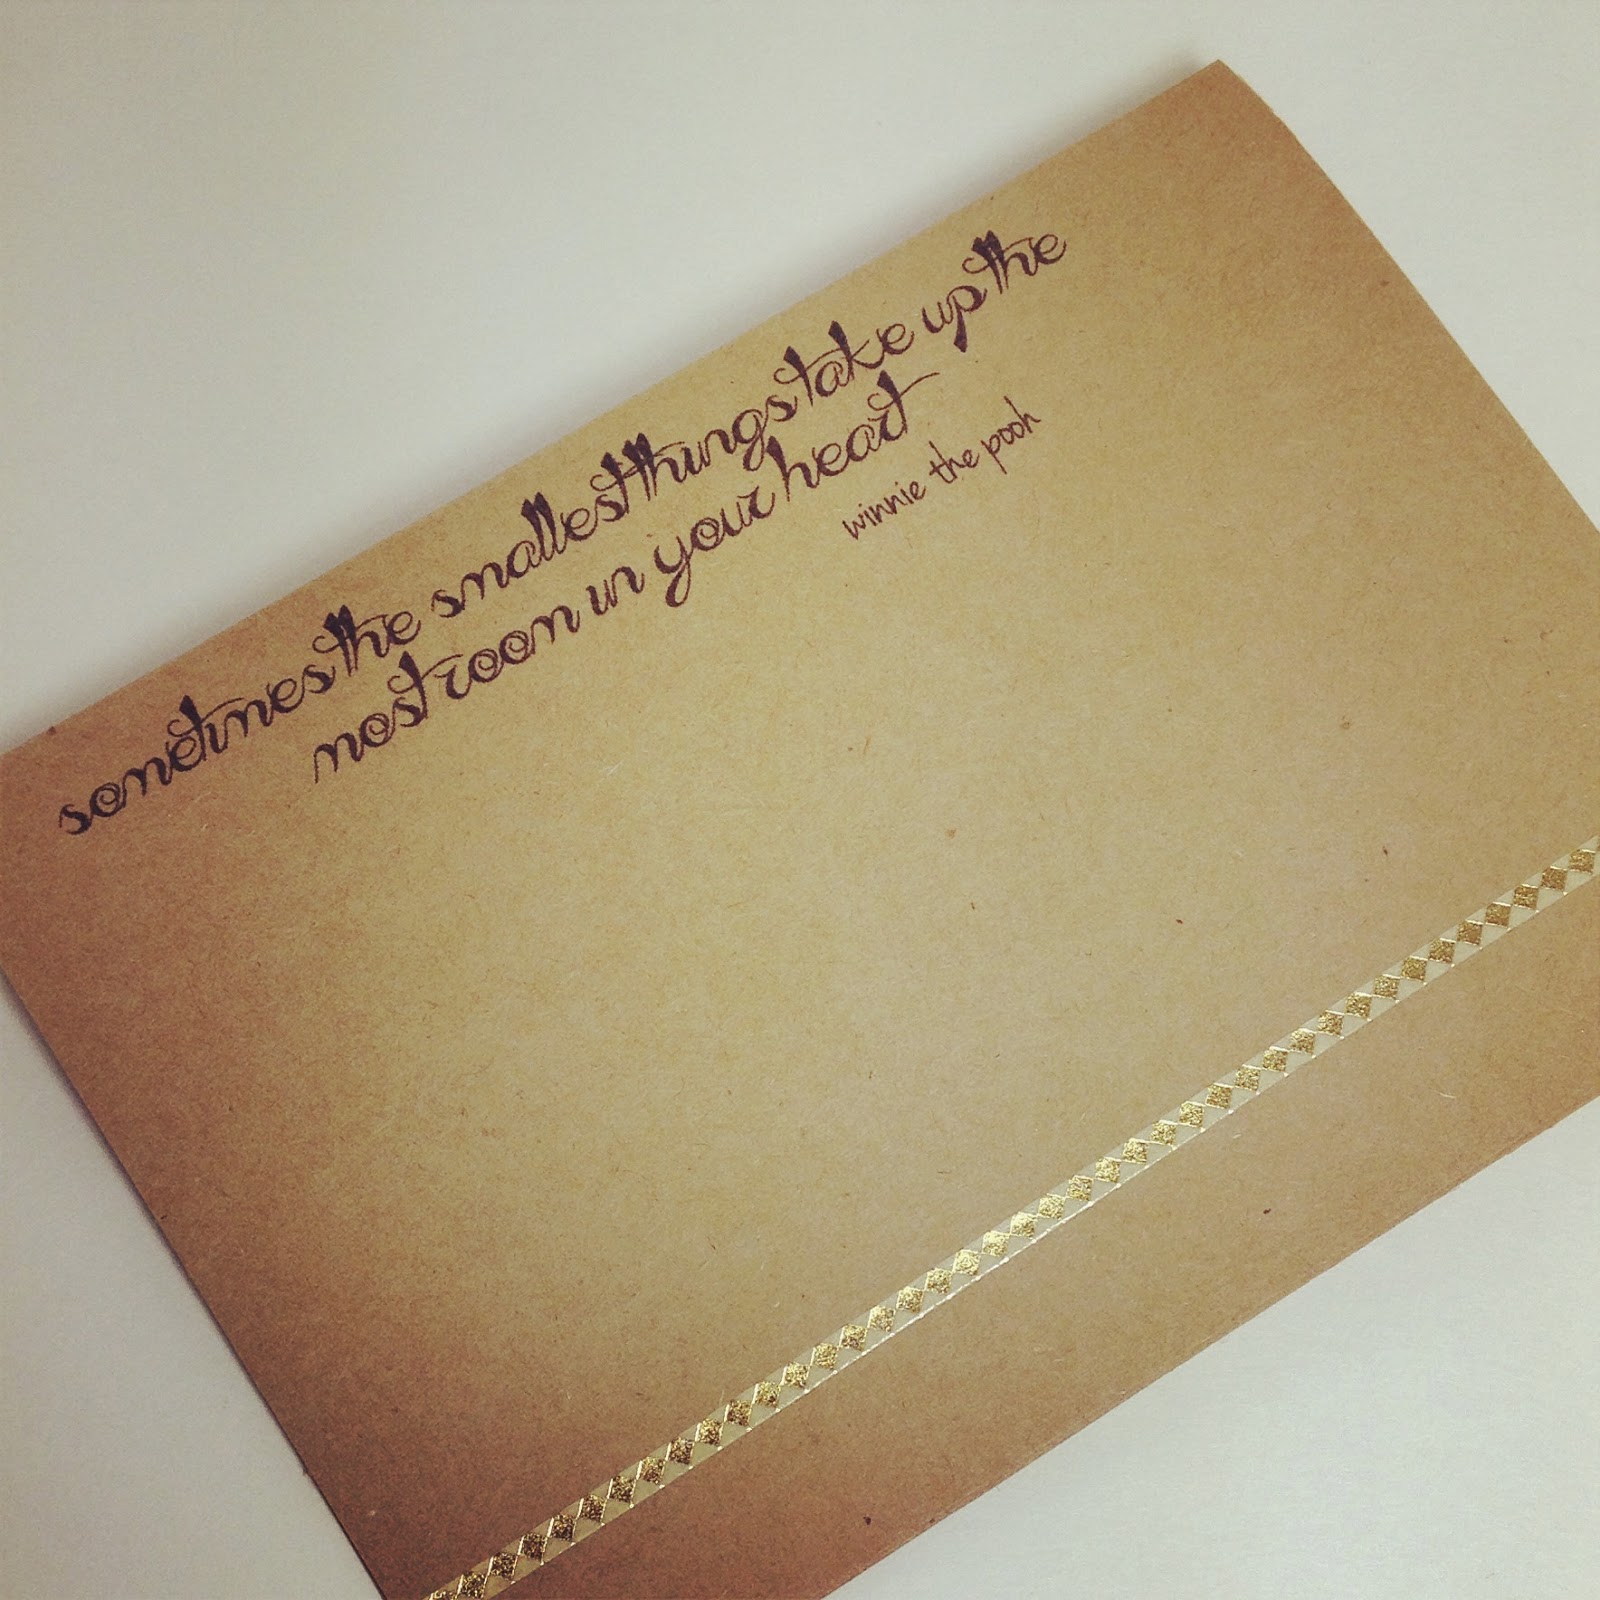
Step 1: Design your text in photoshop or paint. If you want more pretty and interesting fonts than are currently on your computer, you can go to dafont.com and download your choice of font. For this card I used Everything Holiday. To download fonts create a folder on your computer and save the font to that folder, unzip the folder, and move the unzipped folder to the fonts folder which can be found within the control panel --> appearance and personalization--> fonts
Step 2: Print, make sure to change the size of your paper to 5"by 7"
Step 3: Add a small pop of sophistication by decorating with little b tape
No comments:
Post a Comment